
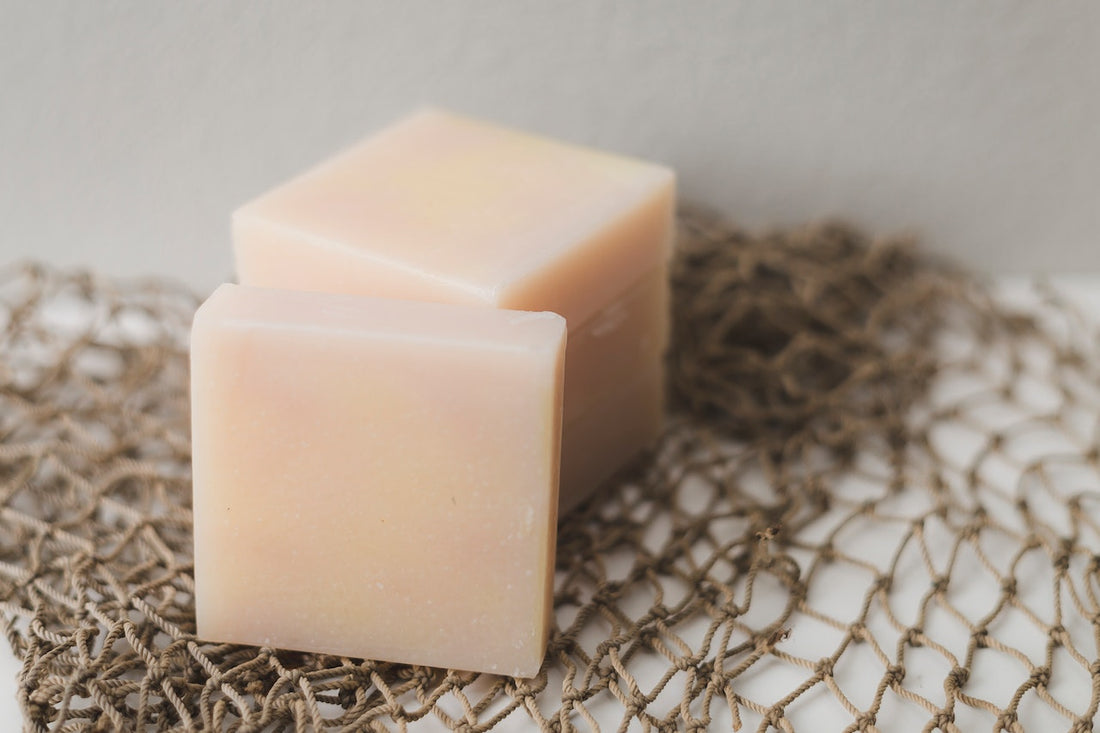
Many of the best soap products are handmade using recipes you can try at home. While there are many different recipes, this DIY olive oil soap recipe is a great choice for beginners.
Our soap is made in small batches at Prairie Sage Soap, allowing us to maintain the handmade artisan nature of soapmaking. It’s all mixed, poured, trimmed, and stamped by hand. Now, you can try it yourself.
You only need five ingredients and the right equipment to get started. Here is my easy-to-follow guide for making your own olive oil soap at home.
Olive Oil Soap Recipe Ingredients
The following amounts should yield five 5-ounce bars of soap:
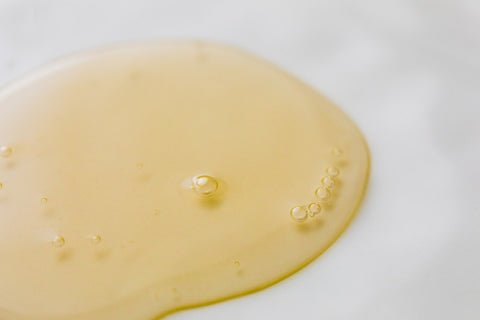
- Extra virgin olive oil – 17 ounces (85%)
- Coconut oil – 2 ounces
- Castor oil – 1 ounce
- Lye – 2.62 ounces
- Distilled water – 6.48 ounces (6.22 fluid ounces)
Equipment and Supplies for Making Your Own Olive Oil Soap
After gathering the ingredients, you must have the right equipment and supplies. Here is what you need:
- Digital kitchen scale
- Heat-resistant bowls
- Heat-resistant silicone spatulas and spoons
- Thermometer
- Safety goggles
- Rubber safety gloves
- Cardboard or newspaper
- Dish detergent
- Ice
- Soap mold
One of the heat-resistant bowls needs to be large enough to hold all 30 ounces and leave room for mixing. It also needs to be heavy-duty heatproof plastic or stainless steel.
The soap mold also needs to hold at least 30 ounces of liquid. You’ll cut the mold into five smaller blocks after it hardens and dries.
Waxed beverage cartons and shoeboxes with waxy interiors are good options for the soap mold. Anything that does not have a slick surface must be lined with freezer paper.
Do not use glass or aluminum for the mold. It needs to be flexible enough to unmold the soap.
Safety Precautions for DIY Soapmaking

You must pay attention to all safety precautions. Making soap at home requires lye, which poses major health risks when misused.
Inhaling the fumes could cause respiratory problems and severe to potentially fatal chemical burns in your throat and lungs.
Always wear protective eye goggles and rubber gloves. You should also wear a face mask when mixing and handling the lye solution.
Do not breathe any of the fumes. Keep your face mask on, open the windows, and turn on all ventilation fans. If you don’t have ventilation fans, mix the lye solution outdoors.
You should only perform these steps in a spot where you can access running water. You will also need about two to three hours of available time without interruptions or distractions.
I also recommend wearing old clothes that entirely cover your legs and arms to protect against harm from the ingredients. Closed-toed shoes are also a good idea. When working indoors, protect your work area with cardboard or newspaper.
Make sure that you keep pets and children away from your work area. You should also keep freshly made soaps and all soap-making equipment away from pets and children.
With these safety precautions covered, you can move on to the steps needed for the DIY olive oil soap recipe.
DIY Olive Oil Soap Recipe
Step 1 – Prepare Your Work Area
Start by prepping your work area and setting up your equipment. Remember to choose an area with good ventilation and fans or work outdoors.
You should also ensure that you have your bowls and mold ready. As mentioned, the mold needs to hold about 30 ounces. You can test the capacity of your mold by measuring and pouring 30 ounces of water into it.
Step 2 – Put on Protective Gear
Ensure you are dressed appropriately in old clothes that cover your arms and legs and closed-toed shoes. You should next put on your protective goggles, face mask, and gloves.
Step 3 – Prepare the Lye Solution
Place the container you want to use to mix the lye solution on a digital kitchen scale and reset it so it reads zero. You can now pour the distilled water into the container. Repeat these steps to measure the lye in a different bowl.
Pour the lye into the water. Do not pour the water into the lye, which will cause a severe reaction.
As you pour, the solution will start to heat and become cloudy. You must use caution during this stage and avoid inhaling the fumes.
Stir the lye into the water for several minutes until it is fully dissolved. Set this mixture aside until needed. Ensure it is placed in a safe spot where children and pets cannot reach it.
Step 4 – Weigh the Oils
Weigh the olive oil, coconut oil, and castor oil in separate containers. Remember to reset the digital kitchen scale to zero after weighing each oil to avoid including the bowl's weight in the measurement.
The coconut oil will need to be melted. Melt it in a microwave on low heat for about 10 to 15 seconds at a time. Check it regularly to avoid overheating.
After the coconut oil is fully melted, you can combine it with the other oils in your final mixing bowl. This bowl should be large enough to hold the entire mixture, including the lye, and leave room for mixing without splashing the mixture out of the bowl.
Step 5 – Match the Temperatures
The container with the oil should match the temperature of the lye solution. A difference of a few degrees doesn’t matter. However, if the lye is still very hot, you can use an ice bath to lower the temperature.
Put ice and water in a sink and set the container inside. Use a thermometer to check the temperature occasionally.
Step 6 – Drizzle the Lye Solution
Pour the lye and distilled water mix into the bowl holding the oils. Pour very slowly and mix constantly while avoiding splashing. Scrape the sides and bottom of the bowl as you stir to ensure the mix gets fully blended.
Step 7 – Stir Until You Reach Trace
Continue to stir using a large silicone or heat-safe spoon or whisk. Stir until the soap reaches trace, which occurs when you can drizzle the mixing spoon over the mixture and see a pattern form for a few seconds. This may take 30 to 120 minutes of stirring by hand.
Using a stick blender can accelerate the process to just a few minutes instead of up to two hours, but it requires caution. Use the stick blender at a low speed to avoid splashing.
Step 8 – Add Ground Herbs or Essential Oils
You can now add any ground herbs or essential oils that you want to include in the mixture. Use only a few ground herbs or essential oils to avoid irritating the skin.
Step 9 – Pour the Mixture Into the Mold
Pour the mixture into your chosen mold. Cover the mold with cardboard. Wrap the mold with a blanket or towel and leave it undisturbed for 24 hours or longer.
After 24 hours, you can start to unmold the soap. Wear gloves when unmolding the soap to protect from the high pH level. Cut the soap into bars using a sharp, non-serrated knife.
The bars of soap must dry for at least six weeks. After the soap is fully dry, you can use it as you would any other bar of soap.
Step 10 – Clean Up
After pouring and covering the mold, clean up your work area. Use paper towels to wipe down your containers and supplies while wearing gloves and goggles.
If you use a stick blender, place it in a sink with hot soapy water without other utensils. The stick blender is now dedicated to soap making.
You should now have your DIY soap. If the first batch doesn’t turn out as you planned, you can always give it another try. Good luck!
If you have questions about the soap-making process, do not hesitate to comment.


